Agent Operations
This chapter covers executing, deploying, sharing, and version-managing your agentflows.
Execution and Debugging
Running Immediately from the Canvas
- Click Run at the bottom-left of the canvas
- Provide test input in the input modal
- Execution results and logs appear in the bottom panel of the canvas
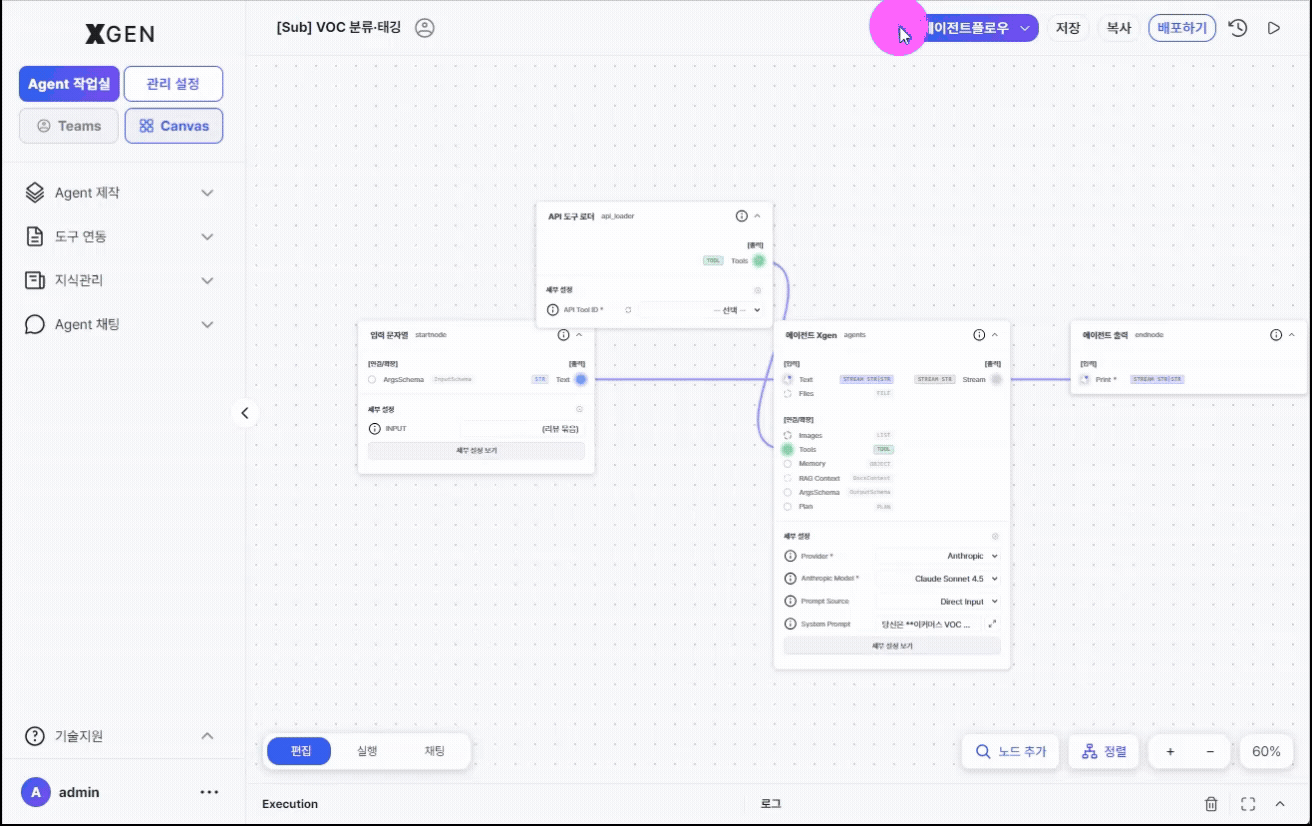
Reading Execution Results
Each execution includes:
| Item | Korean | Description |
|---|---|---|
| Execution Order | 실행 순서 | Which nodes ran in what order |
| Tool Call | 도구 호출 | Arguments and responses for external tool invocations |
| Tool Result | 도구 결과 | Data returned by the tool |
| Citations | 인용 | Documents/assets the AI response referenced |
| Logs | 로그 | Step-by-step detailed logs |
When problems occur, expand the logs to find which node got stuck and what input it received.
Deployment (*to be updated after UI/UX revision)
This chapter describes the full deployment path an agent takes before reaching end users. The Agent Developer's own action ends with submitting a deployment request; the agent is then deployed to production after the administrator approval process required by operational policy.
Submit a deployment request — Agent Developer step
Open the Deploy Info modal from your agent's card action menu and flip the Deploy toggle on — that single action registers the request with the system.
- In the left sidebar, go to Agent Creation → Agent List (
main-agentflow-management). - On your own agent's card, expand the ⋯ (More) menu on the right and pick Deploy Info. If you are still editing on the canvas, save first, then come back through this path (the modal warns: "Save the agentflow before deploying.").
-
The Deploy Settings modal opens. The four tabs at the top (Webpage / API / cURL / Embed) determine how the agent will be exposed.
Mode Description Webpage Chat interface accessible via browser API REST API endpoint cURL Auto-generated cURL command Embed Snippet for embedding into external pages (popup or full-page) -
Flip the Deploy toggle (Private ↔ Deploying) at the top of the modal to ON. This toggle is the single trigger that submits the deployment request. For shared deployments you must select an Agent Development Plan before turning the toggle on — otherwise the modal returns the error "Shared deployment requires an Agent Development Plan."
- As soon as the toggle is on, the card badge changes to Deployment Pending (
inquire_deploy: true) — your request is now in the System Administrator's queue. There is nothing more to do on your side unless you choose to cancel by toggling it back off.
Modal screenshot deferred
A screenshot of the modal showing the Deploy toggle, mode tabs (Webpage/API/cURL/Embed), and the Agent Development Plan picker will be added in a future manual update.
What happens next — System Administrator + Governance Officer dual approval
Flipping the Deploy toggle does not immediately publish the agent. It goes live only after the following two stages both pass.
| Stage | Reviewer | Where | Result |
|---|---|---|---|
| 0. Deploy request | You (Agent Developer) | Agent List → card dropdown → Deploy Info → Deploy toggle ON | Card badge "Deployment Pending" (inquire_deploy: true) |
| 1. Deployment approval | System Administrator | Admin Center → Agent Operations → Agent Management | Card badge "Deployed" (is_accepted: true, is_deployed: true) — full procedure in Admin Manual · Agent Management — Deployment Approval |
| 2. Governance approval | Governance Officer | Admin Center → AI Governance → Agentflow Approval | is_governance_accepted: true — full procedure in Admin Manual · Agent Approval |
| ✅ Servable | — | Visible to end users only after stages 1 and 2 both pass | — |
Track progress on the Dashboard · Agent deployment/approval status widget — the five counters map directly onto the stages above.
| Counter | What it means for your agent |
|---|---|
| Deployment pending | Awaiting System Administrator review |
| Deployment rejected | System Administrator rejected — card reverts to "Not deployed"; check the reason and resubmit after fixing |
| Governance pending | Cleared stage 1; awaiting Governance Officer review |
| Governance rejected | Governance Officer rejected — read the comment (governance_review_comment) and resubmit from stage 0 |
| Both approvals completed | Both passed; the agent is live for end users |
How to read rejection reasons
- System Administrator rejection: rejection notes are typically delivered out-of-band (chat, email). Confirm your team's operational channel in advance.
- Governance rejection: re-open the Deploy Info modal, or — with the appropriate permission — read the review comment (
governance_review_comment) directly on the governance review screen.
Deployment Status
| Status | Korean | Meaning |
|---|---|---|
| Draft | 초안 | Saved but not deployed |
| Active | 활성 | Deployed and live |
| Inactive | 비활성 | Deployment paused (by admin or owner) |
| Archived | 보관됨 | No longer used |
Status is visible at a glance in the agentflow list.
Sharing
Grant other users access to your agentflow.
- Click the Share button on the target agentflow in the list
- Search and select users
- Choose permission — see the table below for permission types
- Save
| Permission | Allowed Actions |
|---|---|
| Read | View, run |
| Read/Write | View, run, edit |
Version Management
Each save automatically creates a version. To roll back:
- Version History menu on the target agentflow
- Click Restore This Version on the desired version
- Confirm in the dialog → Restore
Version-history modal screenshot deferred
A screenshot of the version history modal with the "Restore this version" buttons will be added in a future manual update.
Restore Creates a New Version
Restoring does not overwrite — it creates a new version containing the content of the chosen one. Previous versions are preserved.
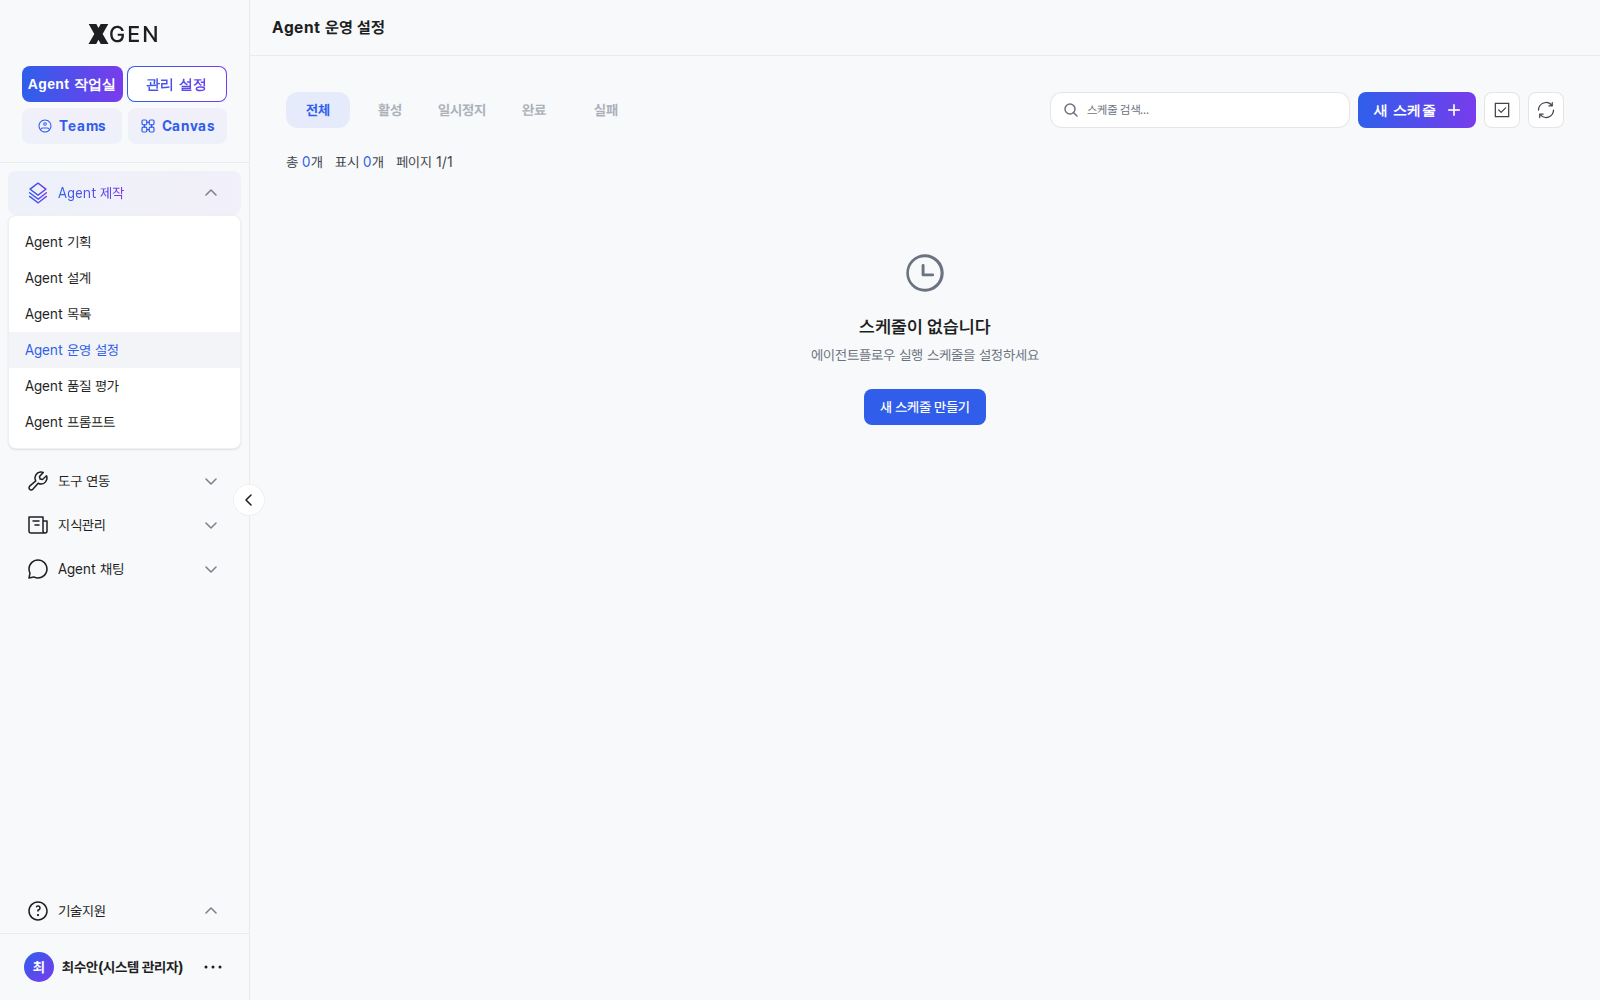
Scheduled Automatic Runs
For agentflows that should run on a schedule:
- Agentflow detail → Scheduler tab
- + Add Schedule
- Choose frequency
| Frequency | Korean | Description |
|---|---|---|
| Daily | 매일 | Once per day |
| Weekly | 매주 | A specific day each week |
| Monthly | 매월 | A specific date each month |
| Cron | Cron | Complex patterns (e.g., weekdays at 9 AM) |
- Configure start time / timezone / input
- Save
To pause: click Pause on the schedule card. To resume: click Resume.
Operational Recommendations
- Test thoroughly before deploying — Run 5–10 times with varied inputs on the canvas to confirm stability
- Monitor the first 24 hours after deployment — Check execution logs frequently to catch anomalies early
- Save explicit versions at meaningful moments — Saving before/after major changes makes rollback easier
Contact
For questions about agent operations, please contact the Xgen Solution Administrator.